Substrate library - How to measure substrate – SOP
ChromaChecker Substrate Library requires performing all M0, M1 and M2 measurements on both white and black backing. Such set of measurements enables detailed analysis of substrate and gives a variety of critical parameters. With the i1Pro 2 driven with i1 Profiler software such measurements take about a minute to perform, and an additional minute to fill the form and upload to server.
How to capture data for ChromaChecker™ Substrate Library:
- We strongly recommend capturing data for the library using: X-Rite i1Pro 2 with i1 Profiler software (free demo mode works for this task).
- Each substrate has to be measured on white and black backing twice. Proper backing should be consistent with the requirements of standards.
- We recommend using: ChromaChecker™ Substrate Backing Plate, available to order on-line.
Preparing steps:
- Prepare a small sample (e.g. 4x4 inch) of all substrates to be entered to ChromaChecker Substrate Library. Be sure that the sample is representative for the stock, free of dust and scratches.
- Collect and write down all information about substrate: name, manufacturer, weight, order number...
- Download and unzip ChromaChecker Workflow file and save into i1Profiler application folder:
/ Application Support / X-Rite / i1Profiler/ ColorSpaceCMYK / MeasureReferenceWorkflows
Click to download: ![]()
Capturing Data:
1. Connect X-Rite i1Pro 2 to your computer, next launch X-Rite i1Profiler in advanced mode:

2. In Assets (column on the left side) open Saved Workflows. A ChromaChecker_Substr_LIb_2+2.rwxf should appear on the list.
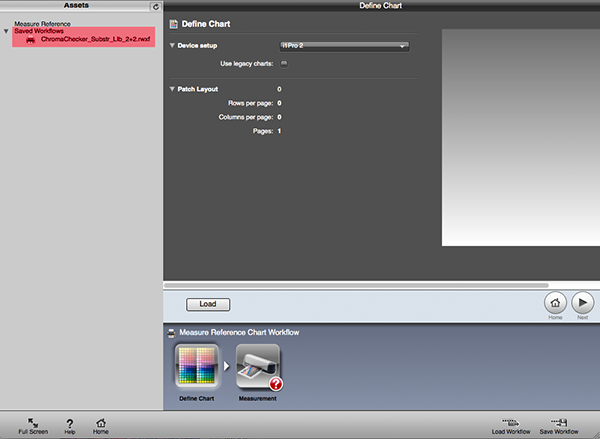
3. Double click it. Window should change to:
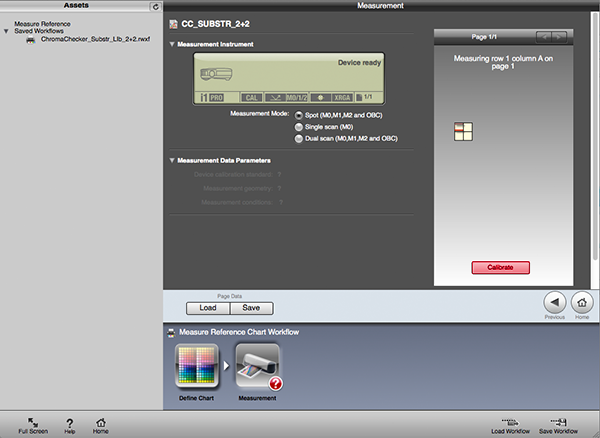
4. Place i1Profiler on a calibration plate, next press "Calibrate" button. Be sure that calibration tile is free of dust.
5. Place sample on white backing an make first two measurements.
Caution: For all measurements always use i1Pro 2 dedicated spot color positioning target.
6. Change backing to black and make next two readings.
7. Save .CxF or .rmxf file (containing all M0, M1 and M2 data) to your hard drive. Name the file with substrate name and weight to improve organization of the captured data: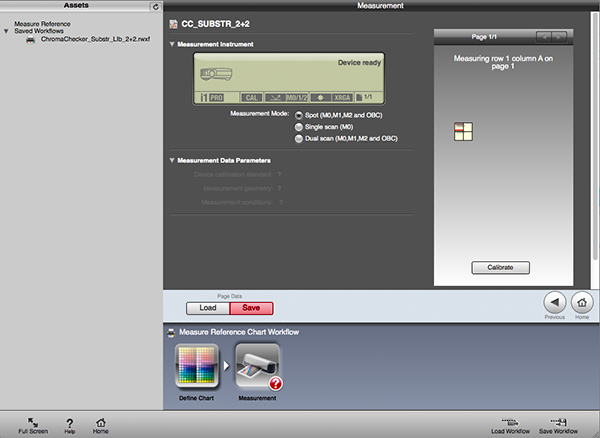
8. Upload CxF file to ChromaChecker Library - fill all fields in the form.
9. To measure next sample double-click on: ChromaChecker_Substr_LIb_2+2.rwxf
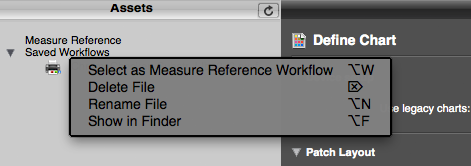
Tip:
If you find hard to locate folder: "MeasureReferenceWorkflows" a right-click on Saved Workflow display pop-up menu that helps to find it (Show in Finder for Mac version):